How This Blog Was Built: Setting Up Ghost on a Homelab Server
A real-world walkthrough of setting up Ghost CMS on an Unraid server using Docker Compose — including fixing Gmail SMTP, bypassing device verification, and automating publishing via the Ghost Admin API.
By Anthony Booth
Welcome to the first meta-post on the Cyborg Security blog. Today, we're pulling back the curtain and showing you the exact, unfiltered process of how this very blog was set up. If you're looking for a powerful, modern, and open-source platform to document your own homelab projects, Ghost is a phenomenal choice. But as with any self-hosted application, the journey from a docker-compose.yml file to a fully functional, branded site can have a few twists and turns.
This guide details our real-world setup on an Unraid server, covering the initial deployment, the inevitable troubleshooting, and the final customizations that make it a polished home for our projects.
Why Ghost for a Homelab Blog?
While there are many blogging platforms, Ghost stands out for a few key reasons:
- Modern Editor: The writing experience is clean, fast, and distraction-free.
- Headless CMS: Its powerful API allows for incredible automation, as you'll see later.
- Built-in Memberships & Newsletters: Easy to build a community around your content.
- Excellent Performance: It's built on Node.js and is significantly faster than traditional platforms like WordPress.
- Great Docker Support: The official Ghost image is well-maintained and easy to configure.
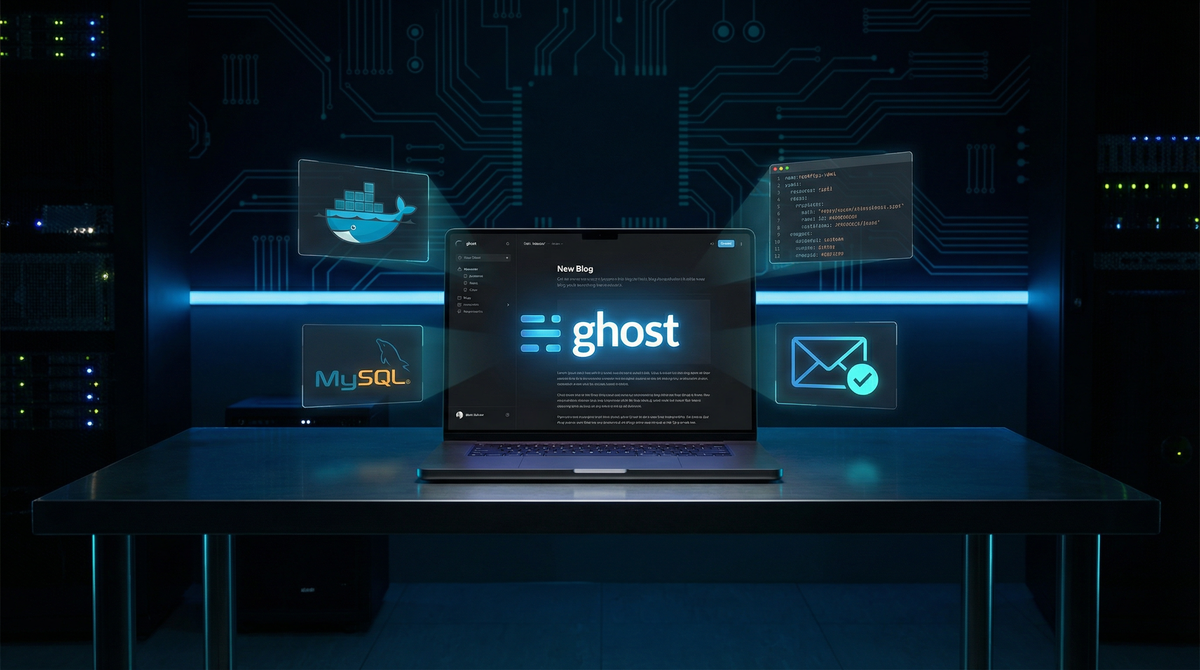
The Core Setup: Docker Compose on Unraid
Everything starts with Docker. We deployed Ghost as a two-container stack: one for the Ghost application itself and one for the MySQL 8 database it relies on. We used the Unraid Compose Manager plugin, but these steps apply to any standard Docker Compose setup.
Here is the final, corrected docker-compose.yml that got everything working:
services:
  ghost-db:
    image: 'mysql:8'
    container_name: ghost-db
    restart: always
    environment:
      MYSQL_ROOT_PASSWORD: YOUR_STRONG_DB_PASSWORD
      MYSQL_DATABASE: ghost
    volumes:
      - '/mnt/user/blogdata/mysql:/var/lib/mysql'
    networks:
      proxynet:
        ipv4_address: 172.18.0.51
    healthcheck:
      test: ["CMD", "mysqladmin", "ping", "-h", "localhost", "-uroot", "-pYOUR_STRONG_DB_PASSWORD"]
      interval: 10s
      timeout: 5s
      retries: 10
      start_period: 30s

  ghost-server:
    image: 'ghost:latest'
    container_name: ghost-server
    restart: always
    depends_on:
      ghost-db:
        condition: service_healthy
    environment:
      url: 'https://blog.yourdomain.com'
      database__client: mysql
      database__connection__host: 172.18.0.51
      database__connection__user: root
      database__connection__password: YOUR_STRONG_DB_PASSWORD
      database__connection__database: ghost
      server__host: '0.0.0.0'
      server__port: '2368'
      server__trustedProxies: '*'
      mail__transport: SMTP
      mail__options__host: smtp.gmail.com
      mail__options__port: '587'
      mail__options__secureConnection: 'false'
      mail__options__auth__user: [email protected]
      mail__options__auth__pass: 'your-16-char-app-password'
      mail__from: '[email protected]'
    volumes:
      - '/mnt/user/appdata/ghost-blog:/var/lib/ghost/content'
    networks:
      proxynet:
        ipv4_address: 172.18.0.50

networks:
  proxynet:
    external: true
Troubleshooting the Setup: A Comedy of Errors
1. The Dreaded 'Failed to send email' Error
After the initial setup, we were greeted with a branded login screen but couldn't get past it. The error was clear: 'Failed to send email. Please check your site configuration and try again.'
Modern Ghost versions require email verification for every new device login. If your email config is broken, you're locked out. The logs confirmed the issue with an EAUTH error code, meaning Gmail was rejecting our credentials.
The Fix:
- Generate a Google App Password:Standard Gmail passwords don't work with third-party apps via SMTP. You must enable 2-Step Verification on your Google account and then generate a 16-character App Password from myaccount.google.com/apppasswords.
- Correct SMTP Settings:Use smtp.gmail.com on port 587 with secureConnection: 'false' for STARTTLS.
- Match mail__from and auth__user:The sending address and the authenticating user must be the same Gmail account.
2. The Temporary Bypass: Disabling Device Verification
While fixing the email, we needed a way to get into the admin panel. We found a temporary bypass by adding an environment variable. However, our first attempt used the wrong config key.
- Initial attempt:privacy__staffDeviceVerification: 'false' (Wrong — changed in Ghost v5.118+)
- Correct key:security__staffDeviceVerification: 'false' (Correct for Ghost v6+)
Once we set the correct key, we could log in immediately without an email code. After fixing the SMTP settings, we removed this line to re-enable the security feature.
3. The Unraid YAML Parser
When updating the stack in Unraid's Compose Manager, we hit a 'yaml: line 5: mapping values are not allowed in this context' error. This is a common issue where the web UI's parser is stricter than the standard Docker Compose CLI — it dislikes comments (#) or complex quoted strings. The fix was to remove all comments and simplify quoted fields in the compose file.
Automating with the Ghost Admin API
The final touch was to automate the publishing process. Instead of copy-pasting content, we used Ghost's powerful Admin API to upload and publish posts directly.
- Create a Custom Integration:In Ghost Admin, go to Settings → Integrations → Add custom integration.
- Get the Admin API Key:This key (in id:secret format) grants programmatic access to your blog.
- Write a Script:We used a Python script with the PyJWT library to generate a JSON Web Token for authentication. The script sends a POST request to the /ghost/api/admin/posts/ endpoint with content in Ghost's native Lexical JSON format.
This allows us to write posts, generate AI cover images, and publish them in a single, automated workflow — which is exactly how this post was created.
Conclusion
Setting up Ghost was a fantastic learning experience that went beyond a simple container deployment. It forced us to dive into email protocols, reverse proxy headers, YAML syntax quirks, and powerful API automation. The result is a fast, beautiful, and highly functional blog ready to document all our future homelab adventures.
If you're considering a self-hosted blog, Ghost is an excellent choice. Embrace the setup process — the troubleshooting is where the real learning happens!