Why I Built This Network (From Family Safety to Full Homelab)
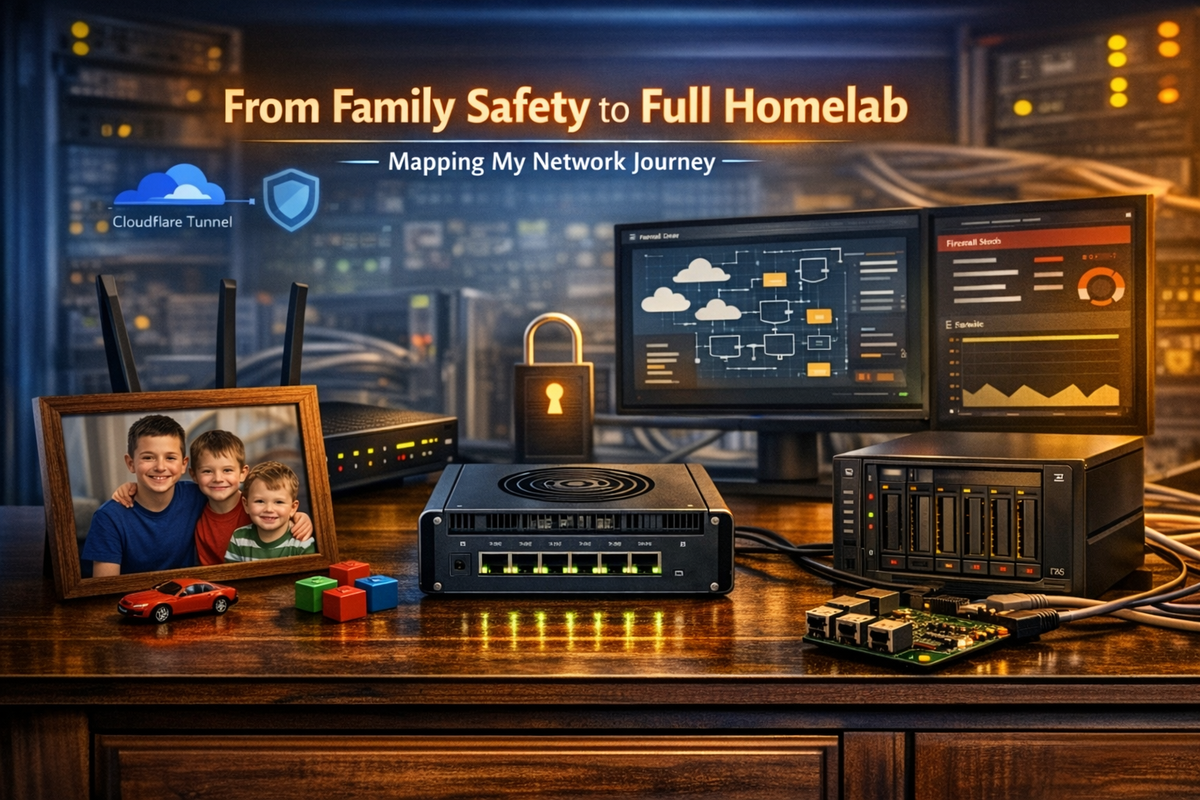
From Family Safety to Full Homelab: Mapping My Network Journey
By Anthony Booth
Every homelab has an origin story. Mine didn’t begin with VLANs, dual‑WAN, or a rack full of blinking lights. It began with something far more important — protecting my boys online.
About five years ago, I realised the standard ISP modem/router just wasn’t enough. The parental controls were basic, the filtering was unreliable, and I had almost no visibility into what was happening on the network. When you’ve got kids growing up in a world where everything is online, that’s not something you can ignore.
So the first upgrade wasn’t about speed or fancy features — it was about safety.
I moved to an ASUS router because it gave me:
- Proper parental controls
- Time‑based access schedules
- Device‑level restrictions
- Better filtering
- A UI that didn’t feel like it was built in 2004
It solved the immediate problem. But once you start taking control of your network, you quickly realise how much more you could be doing.
That’s when Pi‑hole entered the picture. Suddenly I could see what devices were doing, block the rubbish, and take back control of DNS. It was the moment I thought:
“Okay… this is actually pretty powerful.”
And that’s where the journey really began.
The Initial Network Structure (The Foundation Years)
Over the next few years, the network evolved from “parental controls plus Pi‑hole” into something more structured and intentional.
I introduced:
- A static IP block for infrastructure
- A dedicated IoT network
- Cloudflare Tunnel for secure remote access
- A NAS (“Cyborg”) running containers
- Dual‑WAN for resilience
- AiMesh for whole‑home coverage
It wasn’t planned as a homelab — it just naturally grew into one.
Current Network Map
Virgin 1.2G ───────┐
                    │
500M ISP ──────────┤── RT‑AX86U (Main Router)
                    │
                    └── LAN (192.168.30.0/23)
                               │
                               ├── RT‑AC86U (AiMesh Node)
                               │
                               ├── NAS / Cyborg (192.168.31.10)
                               ├── Pi‑hole (192.168.31.224)
                               ├── Printer (192.168.31.240)
                               └── Fing Monitor (192.168.31.210)

IoT Network → 192.168.50.0/24 → Routed to WAN2
IP Addressing
Infrastructure (Static): 192.168.31.x
- RT‑AX86U — 192.168.31.200
- RT‑AC86U — 192.168.31.202
- NAS / Cyborg — 192.168.31.10
- Pi‑hole — 192.168.31.224
- Printer — 192.168.31.240
- Fing Monitor — 192.168.31.210
General LAN (DHCP): 192.168.30.x
Everything normal lives here.
IoT Network: 192.168.50.x
Everything untrustworthy lives here.
Security Posture
- IoT isolated
- No inbound ports exposed
- Cloudflare Tunnel for remote access
- Pi‑hole filtering
- Static IPs for critical services
It’s stable, predictable, and honestly better than many small business networks.
The Transition: When a Network Becomes a Homelab
At some point, the line between “home network” and “homelab” quietly disappears.
For me, that moment was when I realised:
- I wanted proper VLAN segmentation
- I wanted real multi‑WAN routing
- I wanted IDS/IPS
- I wanted WireGuard at multi‑gig speeds
- I wanted better visibility
- I wanted more control
The ASUS routers have been brilliant, but they’re still consumer devices. They weren’t designed for the kind of granular control I now want — and that’s where OPNsense comes in.
The Next Step: A Dedicated Firewall
This isn’t about overengineering. It’s about continuing the mission I started five years ago:
Keep the network safe, reliable, and predictable for the people who rely on it every day.
I’m currently weighing three hardware options:
Intel N305 (Top Tier)
- 8‑core Alder Lake‑N
- Fanless
- DDR5
- 6× 2.5G NICs
- ~£327 barebone
- The “buy once, cry once” option
Intel 7505 DDR4 (Best Value)
- 2P + 8E cores
- DDR4 (I might already have RAM for this)
- 6× 2.5G NICs
- ~£219 barebone
- The “smart money” choice
Intel N100 (Budget)
- 4 cores
- 2.5G capable
- £180–£220
- Perfectly fine for most setups
Future Network Map (OPNsense Edition)
Virgin 1.2G ───────┐
                    │
500M ISP ──────────┤── OPNsense Firewall (6× 2.5G)
                    │
                    └── 2.5G LAN → Switch
                               │
                               ├── RT‑AX86U (AP Mode)
                               ├── RT‑AC86U (AP Mode)
                               ├── NAS / Cyborg
                               ├── Pi‑hole
                               ├── Printer
                               └── Fing Monitor

VLANs:
- LAN (192.168.30.x)
- Servers (192.168.31.x)
- IoT (192.168.50.x)
- Guest (192.168.60.x)
- Management (192.168.10.x)
Where This Is All Going
The plan is simple:
- Keep refining the current setup
- Audit the DDR4 RAM I already have
- Revisit the firewall upgrade once the credit card stops glaring at me
- Document the entire OPNsense migration when it happens
This isn’t the end of the journey — it’s just the next chapter.
If you want, I can also prepare:
- A matching featured image
- A follow‑up post (Part 2: Choosing the Firewall Hardware)
- A diagram in your blog’s visual style
- Or a “Troubleshooting Along the Way” section in your comedic tone
Just tell me what you want next.